Blogging with Jekyll and GitHub Pages
Prerequisites
- Have a GitHub account
- Get Git installed
- Get Jekyll installed
- Install Bundler using
gem install bundler
When you are ready
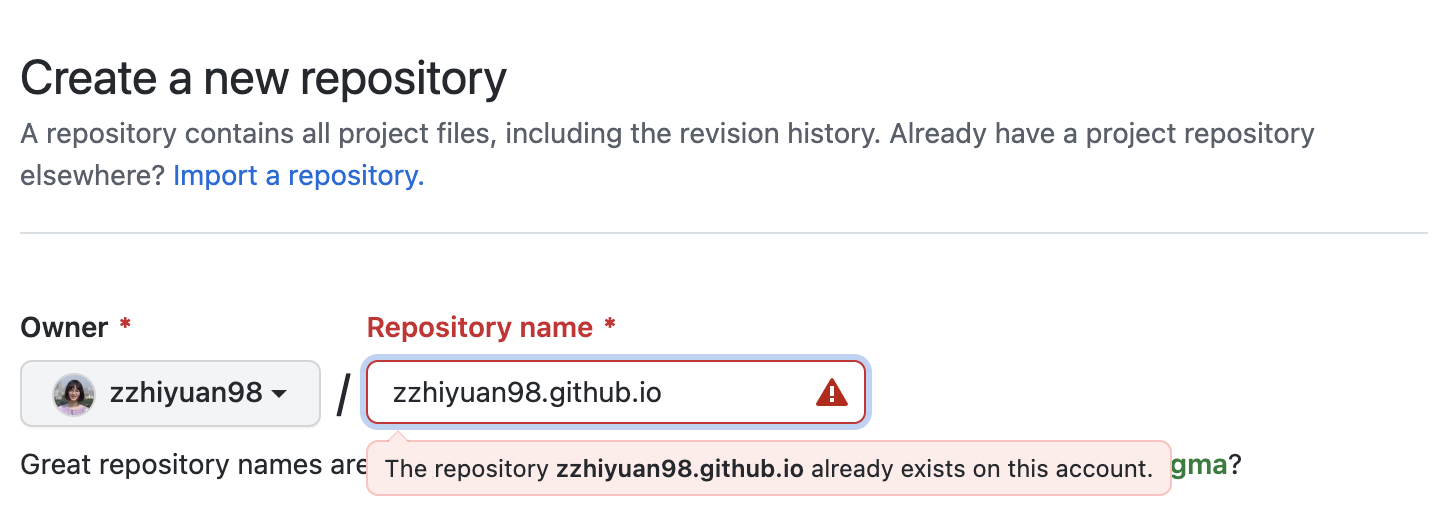
- Create a new repository on GitHub
- Use “[username].github.io” as your repo name (Remember to replace username with your OWN GitHub username)
- After creating the repository, you will be directed to a new page. For now, just leave it alone.
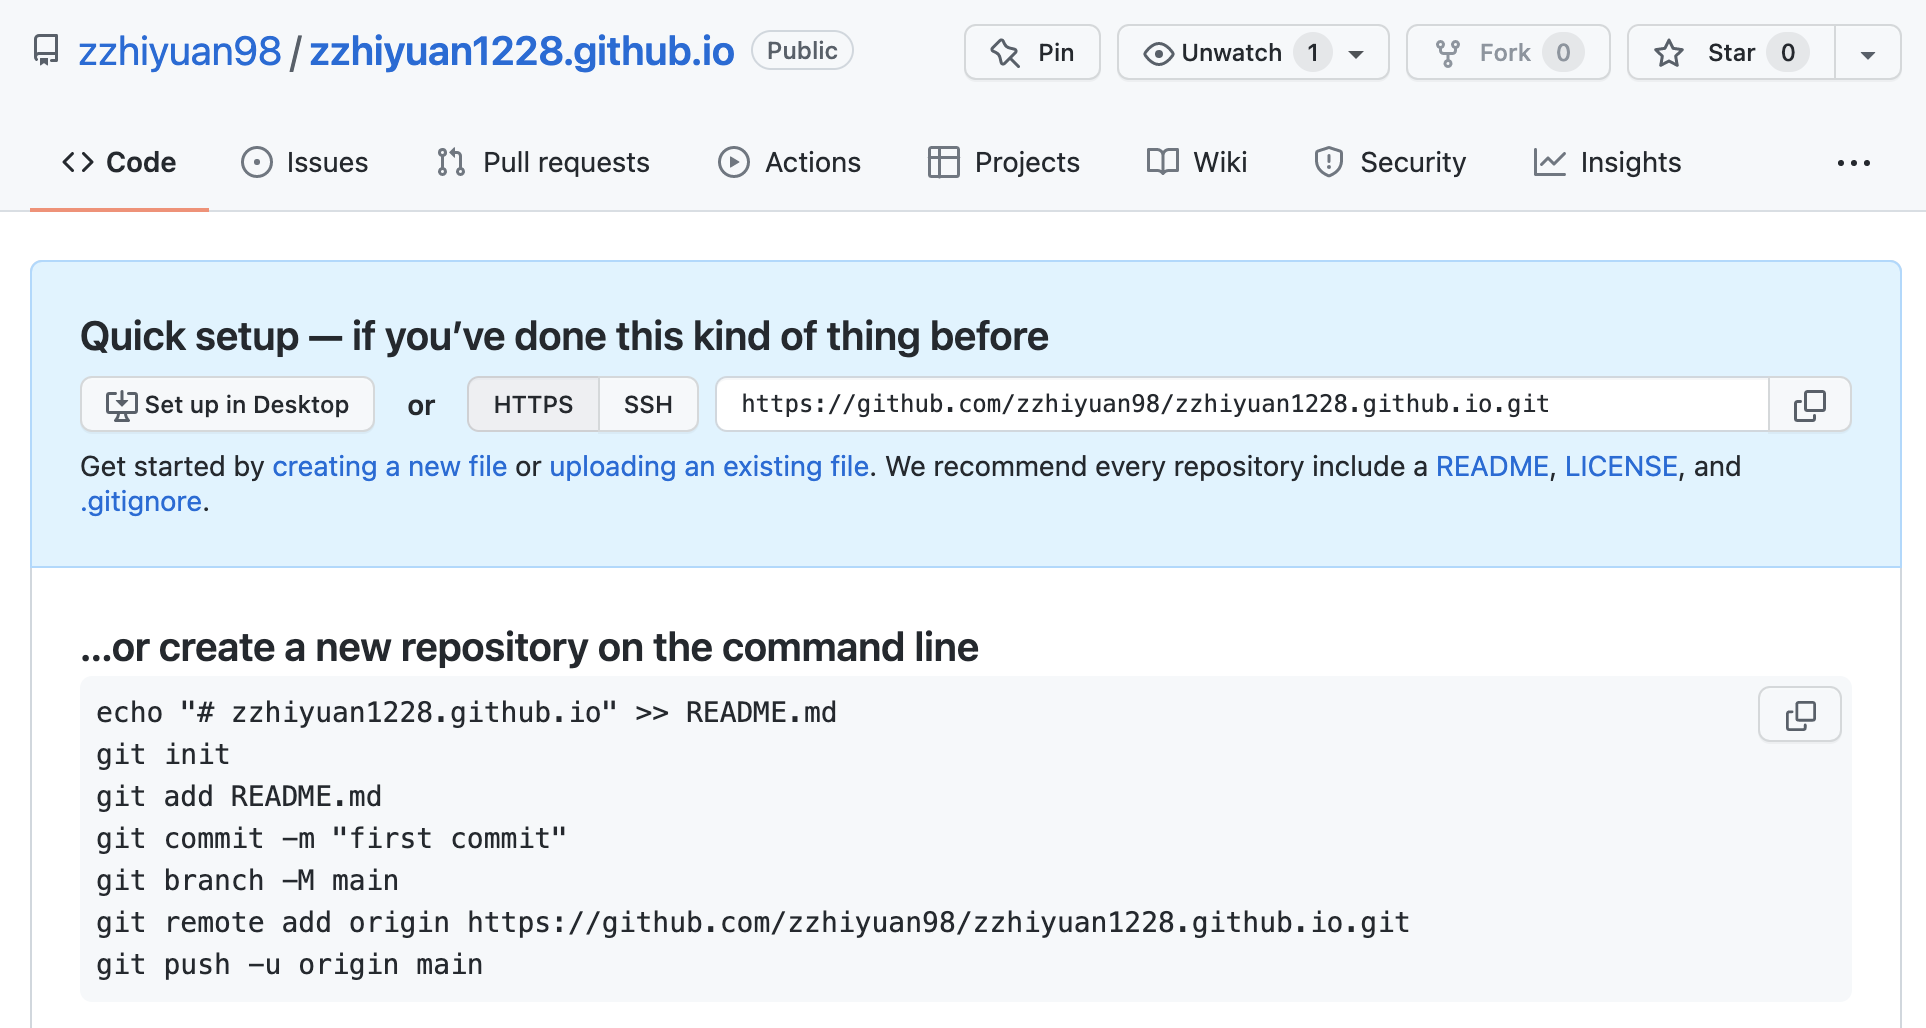
- From your terminal, create a new Jekyll site at ./myblog, then direct to the directory you just created (you can change “myblog” to whatever directory name you want)
$ jekyll new myblog $ cd myblog - Run the following commands (Don’t forget to replace “zzhiyuan98” with your username)
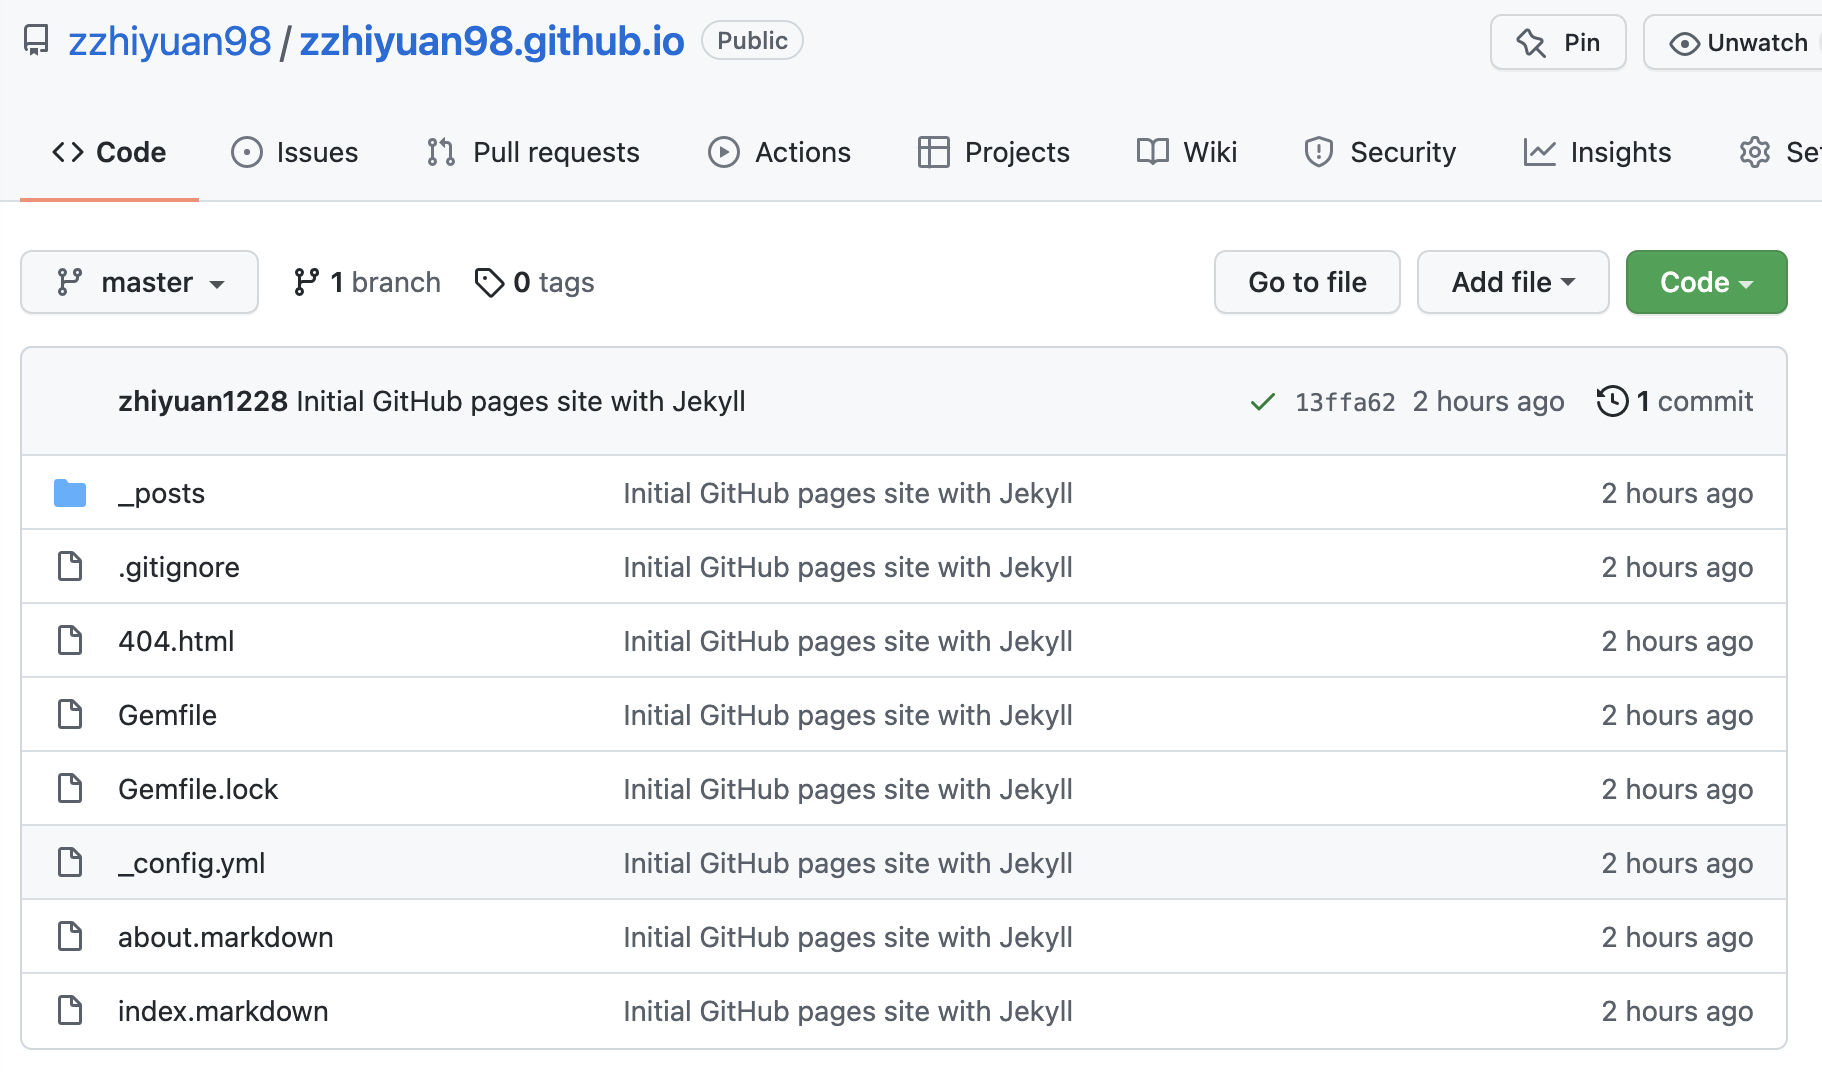
$ git init $ git add . $ git commit -m "Initial GitHub pages site with Jekyll" $ git remote add origin https://github.com/zzhiyuan98/zzhiyuan98.github.io.git $ git push --set-upstream origin master - Refresh the page you got in step 3, and you should see your new commit
- Go to Settings -> Pages (Sidebar), and you should see this green box (If it’s blue, just wait for a few seconds and refresh the page)
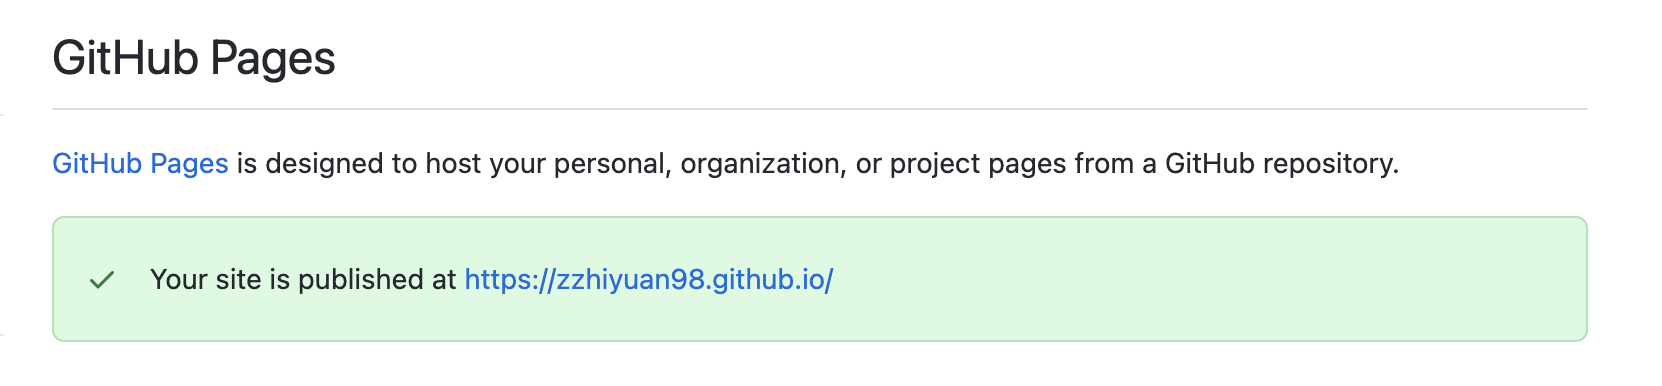 Click the url and boom! You have your brand-new blogging site all set!
Get your site running on a local server
bundle add webrick
bundle exec jekyll server